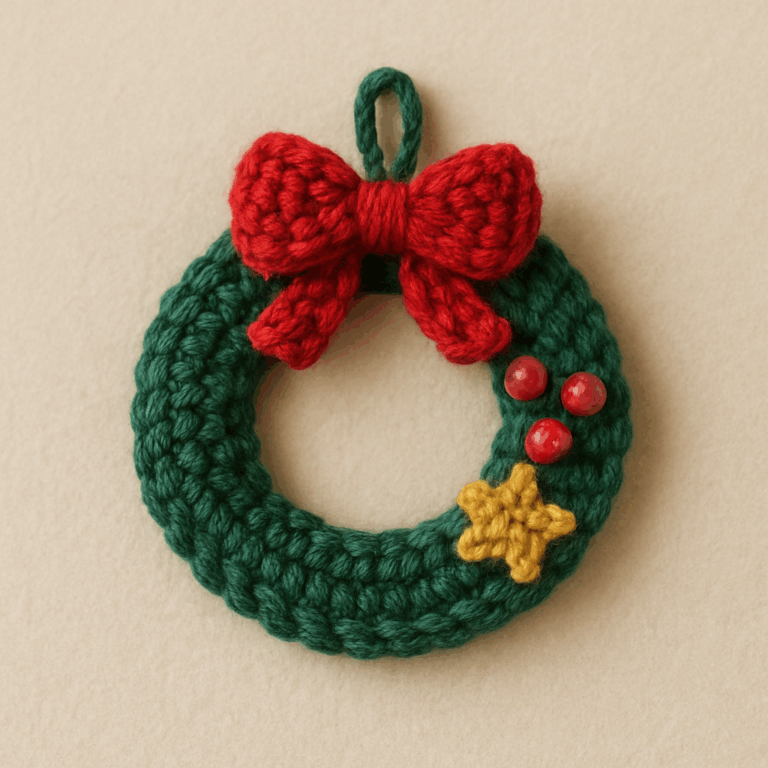
Personalizing children’s towels with cross stitch names is more than just decoration—it’s a way of adding love, identity, and creativity into an everyday object. Whether you’re preparing a towel for daycare, school, or simply creating a meaningful handmade gift, learning how to embroider names in cross stitch can be both practical and rewarding. In this detailed tutorial, we will explore five unique name chart styles, step-by-step instructions, and useful tips to help you achieve professional results, even if you are a beginner.
Why Cross Stitch Names on Towels?
Before diving into the patterns and techniques, it is worth understanding the value of stitching names onto children’s towels:
- Identification – Ensures that the towel does not get lost or mixed up at school or daycare.
- Personal touch – Every stitch adds love and uniqueness to the piece.
- Durability – Embroidered names last longer than stickers or printed tags.
- Aesthetic value – Turns a simple towel into a charming and colorful accessory.
- Gift idea – Personalized towels make thoughtful presents for birthdays, christenings, or baby showers.
Cross stitching a name transforms an ordinary item into a keepsake that parents and children cherish for years.
Essential Materials You Will Need
To get started, you’ll need a few basic supplies. Most of them are inexpensive and easy to find in craft stores.
Fabric & Towels
- Children’s towels with Aida band (a fabric strip already sewn into the towel).
- If the towel has no band, you can attach a piece of Aida cloth yourself.
Threads
- Mouliné floss (the standard thread for cross stitch).
- Choose bright, cheerful colors that match the child’s personality.
Needle
- Tapestry needle size 22–24 (blunt tip, safe for cross stitch).
Tools
- Embroidery hoop (to keep fabric taut).
- Small embroidery scissors.
- Printed or digital name charts.
💡 Pro tip: Always use cotton threads to ensure softness and color resistance to frequent washing.
How to Read and Follow Cross Stitch Charts
A cross stitch chart is essentially a grid where each square represents one stitch. Understanding it is the first step toward a beautiful project.
Steps to read a chart correctly:
- Find the center: Fold your fabric and the chart in half both ways. Start stitching from the middle for symmetry.
- Identify colors: Each symbol or shade in the chart corresponds to a thread color.
- Work in sections: Focus on small areas at a time to avoid mistakes.
- Stitch method: Create one diagonal line ( / ) across a row, then return with the opposite diagonal ( \ ) to complete the X.
- Back finishing: Secure the thread by sliding it under existing stitches—never tie bulky knots.
This method keeps the design neat and helps beginners avoid common errors.
Five Creative Cross Stitch Name Chart Styles
Now, let’s look at five unique styles of name charts you can use to decorate children’s towels.
1. Classic Block Letters
- Uppercase, bold, and easy to read.
- Works well for short names like Ana, Leo, or Max.
- Perfect for school towels where visibility is important.
2. Cursive Script Letters
- Elegant, flowing letters that look handwritten.
- Best suited for feminine names such as Sofia, Amelia, or Clara.
- Creates a delicate and timeless look.
3. Colorful Block Letters
- Chunky letters filled with bright thread colors.
- Fun and playful, ideal for young children.
- Can be stitched in rainbow hues for extra charm.
4. Decorated Letters with Icons
- Letters combined with small motifs like stars, cars, flowers, or hearts.
- Great for themed towels (e.g., Lucas 🚗, Luna 🌸).
- Adds personality and fun to the design.
5. Miniature Lettering
- Small, compact letters for tiny spaces.
- Perfect for short towels, bibs, or washcloths.
- Best for long names like Gabriella or Benjamin.
👉 You can even mix styles—use a bold block style for a bath towel and cursive script for a face towel in the same set.
Step-by-Step Tutorial: Stitching the Name “Lucas”
To make this practical, let’s embroider the name “Lucas” using a block letter chart.
Step-by-step instructions:
- Prepare your towel: Stretch the Aida band on an embroidery hoop.
- Mark the center: Align the center of the towel with the center of your chart.
- Start stitching the L: Work left to right, completing one letter at a time.
- Continue with U, C, A, S: Follow the chart carefully, row by row.
- Finish with bold outline (optional): Use backstitch in black for extra definition.
- Secure and finish: Hide thread ends neatly under the stitches.
Example Chart: “Lucas” in Block Letters
Here’s a simple ASCII-style chart to illustrate how names look in cross stitch. Each “X” represents one stitch. You can adapt it to your own designs.
L U U CCCC AAAAA SSSSS
L U U C A A S
L U U C AAAAA SSS
L U U C A A S
LLLL UUUU CCCC A A SSSSS
👉 To use this: count each square on the grid as a stitch, choose thread colors, and follow the chart row by row. You can modify spacing or add icons around it (stars, cars, hearts).
Final Tips & Inspiration
- Wash gently: Hand wash embroidered towels with mild soap.
- Dry in the shade: Prevents fading of bright threads.
- Iron on reverse: Protects the stitches from heat damage.
- Experiment with colors: Use gradient threads for a rainbow effect.
- Add borders: Decorative edges can make the towel even more attractive.
Cross stitching names on children’s towels is not just a craft—it’s a way to personalize memories, create meaningful gifts, and add beauty to everyday life. With the five chart styles presented and the sample tutorial, you are ready to bring creativity into your needlework and make every towel truly unique.
Ana
A N N A
A A NN N A A
AAA N N N AAA
A A N NN A A
A A N N A A
Sofia
SSS OOO FFFF III AAAAA
S O O F I A A
SSS O O FFF I AAAAA
S O O F I A A
SSSS OOO F III A A
Leo
L EEEEE OOO
L E O O
L EEEE O O
L E O O
LLLL EEEEE OOO
Clara
CCCC L AAAAA RRRR AAAAA
C L A A R R A A
C L AAAAA RRRR AAAAA
C L A A R R A A
CCCC LLLL A A R RR A A