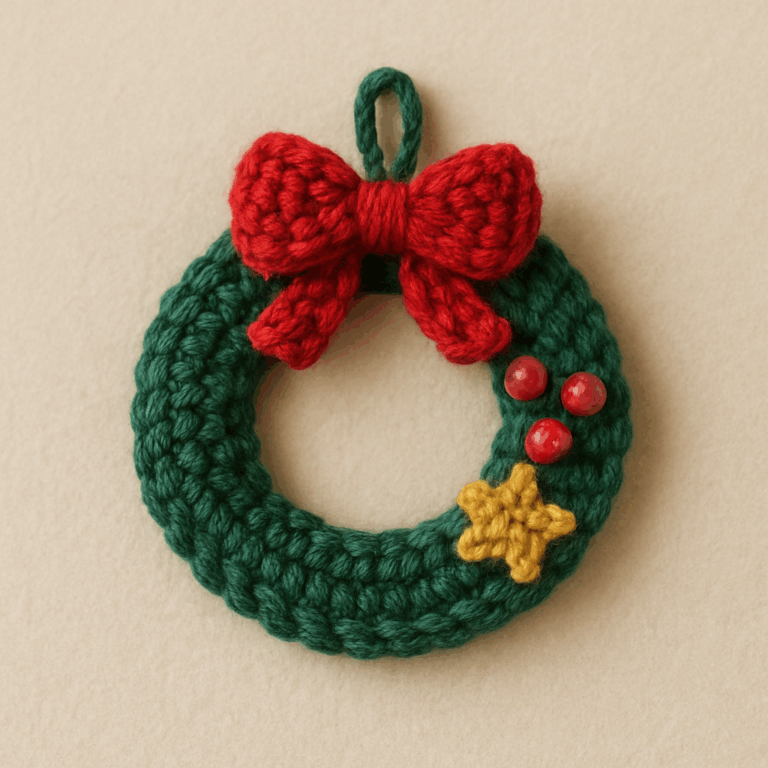
Mini Crochet Christmas Wreath: A Charming Handmade Holiday Decoration
Pocket gnome crochet ornaments are charming little creations that bring a magical touch to any celebration. They can be used as gift toppers, holiday decorations, party favors, or even treat holders. These adorable mini gnomes are simple to make, fun to personalize, and perfect for anyone who loves DIY crochet crafts.
Whether you want to add a whimsical detail to your presents, sell handmade crafts at fairs, or create seasonal home décor, these mini crochet gnomes are the perfect project. In this tutorial, you’ll learn how to make your own crochet gnome step by step — from the body and hat to the finishing touches!
Before you start, gather all your supplies. Preparation helps keep your crafting process smooth and enjoyable.
Essential materials:
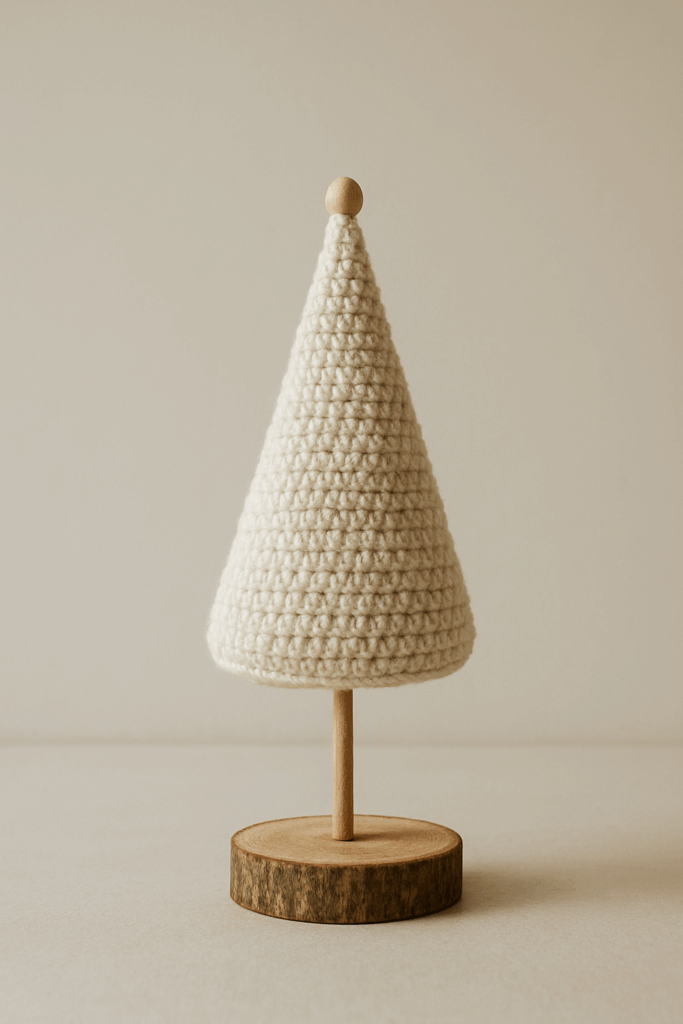
The gnome’s body forms the foundation of your project. It should be firm and well-shaped to support the hat and beard.
Instructions:
This cone will serve as the base of your crochet gnome, giving it a cute, rounded body.
The hat and beard are what give your pocket gnome ornament its signature look!
Crochet hat:
Crochet beard:
These small details make your crochet gnome ornament look cozy and full of personality!
Once all the parts are ready, it’s time to assemble your gnome.
Assembly steps:
Optional treat holder:
If you want to use it as a treat holder, insert a small wooden stick or skewer into the bottom before closing the body. You can attach a mini candy or chocolate for a festive presentation.
With a little creativity, you can design holiday-themed gnomes for Christmas, Easter, or even birthdays — each one with its own color palette and charm.
Your pocket crochet gnomes can be used in many fun and profitable ways. Here are a few ideas:
Handmade crochet gnomes are trending in the home décor and craft markets, making them a great opportunity for crafters who want to earn money from their passion.
Creating pocket gnome crochet ornaments is an enchanting way to express creativity and spread joy. These small handmade decorations are not only adorable but also versatile — perfect for gifts, party décor, or seasonal displays.
With just a few materials and a bit of time, you can craft gnomes that bring smiles to everyone who sees them. So grab your yarn and hook, and start stitching your own magical crochet gnome collection today! 🧶🎁


